The Problem: Docker Ignores UFW.
If you run Docker on Ubuntu or Debian with UFW enabled, you have a problem you may not know about. Docker bypasses UFW entirely by writing rules directly to iptables. This means a container with a published port is reachable from the internet — even if UFW says no. Your firewall is running. It is doing nothing.
The workarounds exist — editing /etc/docker/daemon.json, managing iptables rules manually, the ufw-docker helper script — but none of them are clean. They're brittle, easy to break on upgrades, and feel like duct tape on a structural problem. I wanted something that didn't require me to fight both Docker and my firewall every time I added a new service.
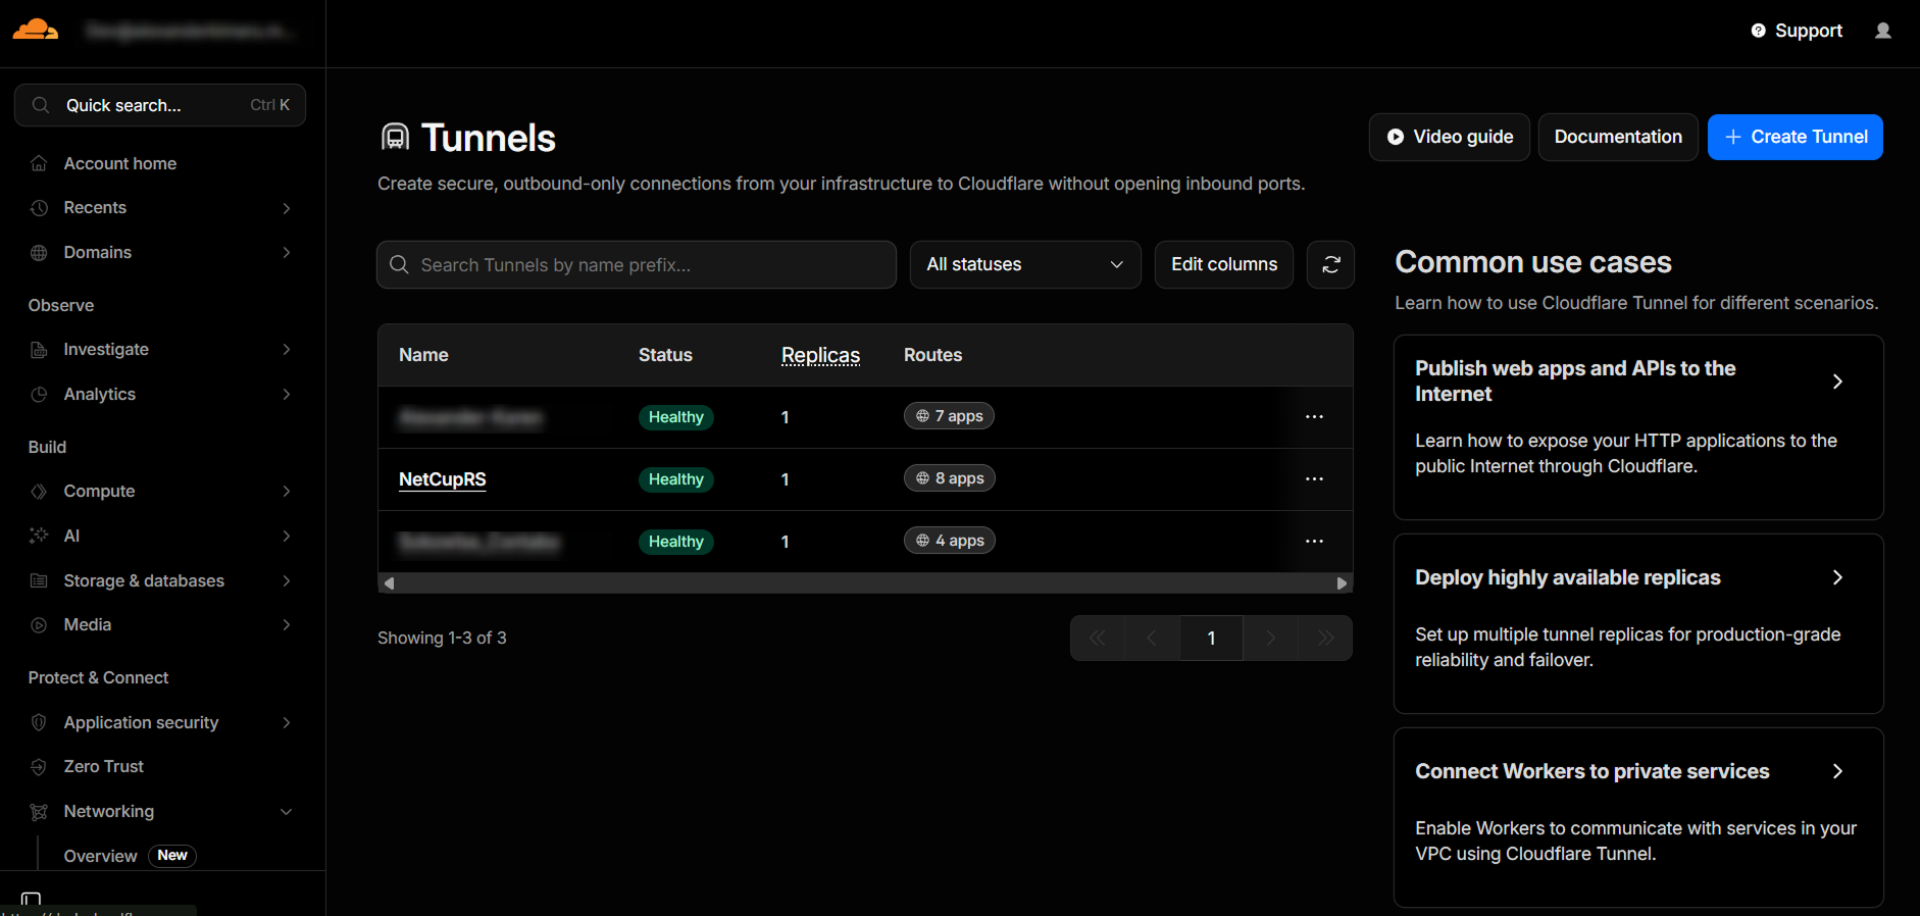
I run this setup in two places: a homelab at home for personal projects and self-hosted services, and a NetCup RS — a lean German VPS — running a handful of small production services. On both machines I wanted the same thing:
- No exposed ports on the host — nothing listening on
0.0.0.0. - Explicit control over what's internet-facing.
- A clean Compose setup I could version-control and reason about.
Cloudflare Tunnels with a dedicated Docker network delivers all three.
What Is a Cloudflare Tunnel?
Cloudflare Tunnels (previously Argo Tunnel) let you expose a local service to the internet without opening any inbound ports. A lightweight daemon — cloudflared — runs on your machine and makes an outbound-only connection to Cloudflare's edge. Cloudflare proxies public traffic through that connection to your service. Your router never gets touched. Your firewall is irrelevant.
It's free as long as you have a domain on Cloudflare. You get permanent hostnames, automatic TLS, DDoS protection, and optionally Zero Trust access control — all without touching a single firewall rule.
The Architecture
The flow is straightforward:
Internet → Cloudflare Edge → cloudflared container → cf-net → your service containers
cloudflaredruns in its own container, connecting outbound to Cloudflare.- Service containers join the
cf-netDocker network. - Cloudflare maps public hostnames to container names — no IPs, no ports needed for standard HTTP traffic.
- Nothing is bound to the host. UFW has nothing to bypass.
The only exception: containers that serve on a non-standard port (e.g., server-side-up images use 8080 for HTTP and 8443 for HTTPS) need that port specified in the Cloudflare hostname config.
The Docker Compose File
services:
  cloudflared:
    image: cloudflare/cloudflared:latest
    command: tunnel --no-autoupdate run --token YOUR_TOKEN_HERE
    extra_hosts:
      - "host.docker.internal:host-gateway"  # Allows reaching host services if needed
    networks:
      - cf-net
    restart: always
    logging:
      driver: "json-file"
      options:
        max-size: "100m"   # Rotate logs at 100 MB
        max-file: "10"     # Keep last 10 log files
    volumes:
      - /etc/localtime:/etc/localtime:ro  # Keep timezone in sync with host

networks:
  cf-net:
    name: cf-net  # This is just my preferred name — call it whatever makes sense for your setup
What each piece does
| Setting | Why it matters |
|---|---|
--no-autoupdate |
Prevents the daemon auto-updating inside the container — let Docker handle image updates instead |
--token |
Your tunnel token from the Cloudflare dashboard. One token per tunnel |
extra_hosts: host.docker.internal |
Maps the magic hostname to the host's gateway IP — useful if you need to proxy something running on the host itself |
restart: always |
Keeps the tunnel up across reboots and crashes |
logging |
Bounded log rotation — without this, cloudflared can fill your disk over time |
/etc/localtime:ro |
Keeps log timestamps consistent with your host timezone |
networks.cf-net.name |
Explicitly naming the network means other Compose stacks can attach to it with external: true |
Adding a Service to the Tunnel
In your service's docker-compose.yml, attach it to cf-net:
services:
  my-app:
    image: my-app:latest
    networks:
      - cf-net

networks:
  cf-net:
    external: true  # Reuse the network created by cloudflared's compose file
Then in the Cloudflare dashboard → Zero Trust → Networks → Tunnels → your tunnel → Public Hostnames, add your entries:
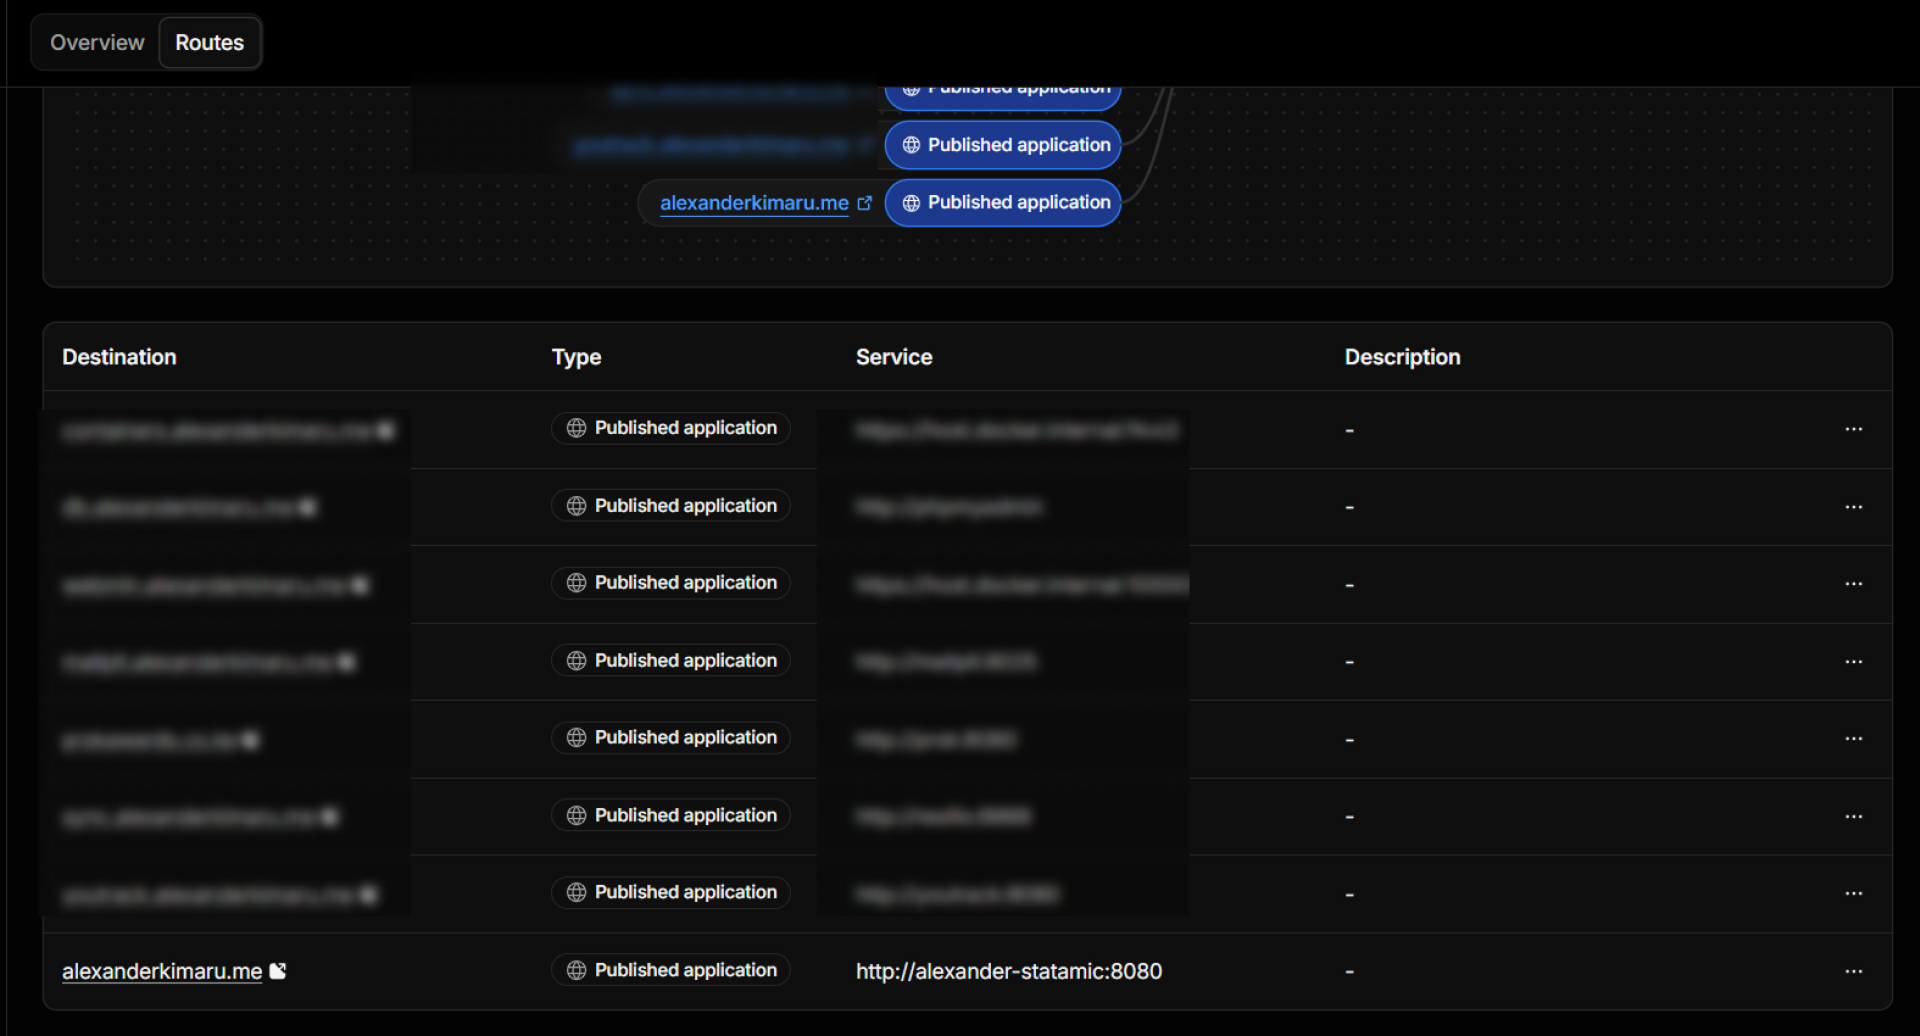
| Subdomain | Domain | Service |
|---|---|---|
app |
yourdomain.com |
http://my-app |
photos |
yourdomain.com |
http://photos-app:8080 |
The container name is used as the hostname directly — Docker's internal DNS resolves it within cf-net. You only need a port when the container isn't listening on 80.
Containers that need to talk to other services
Most real-world apps need more than one network — your web container needs to reach cf-net for public traffic but also needs to talk to a database or a cache on a separate internal network. Docker handles this cleanly: just attach the container to both.
services:
  my-app:
    image: my-app:latest
    networks:
      - cf-net      # internet-facing — cloudflared can reach it here
      - backend     # internal only — talks to the database, never exposed

  db:
    image: postgres:16
    networks:
      - backend     # no cf-net here — the database has no business being reachable from the tunnel

networks:
  cf-net:
    external: true  # shared tunnel network
  backend:
    name: backend   # internal network, defined here or in its own compose file
The database joins only backend — it is completely invisible to cloudflared and to the internet. my-app sits on both, so it can serve public traffic through the tunnel while still reaching the database internally. Each network is a separate, isolated bridge. Joining one does not grant access to the other.
A note on naming
cf-net is just the name I use. You can call it tunnel, public, edge, proxy — whatever fits your naming conventions. The only requirement is that the name stays consistent across your Compose files. Whatever you name it in the cloudflared Compose file is what you reference with external: true everywhere else.
What I No Longer Have to Think About
Port forwarding on the routerUFW bypass hacksDynamic DNSCertbot and SSL certificate renewalExposing the wrong port by accident
Cloudflare handles TLS termination at the edge. My containers speak plain HTTP internally. Nothing is exposed to the public internet except what I've explicitly mapped in the Cloudflare dashboard.
I know some of you will want to crucify me for this — trusting Cloudflare as the origin proxy and running HTTP on the internal leg with no Full (strict) SSL. I'm fine with it. The cf-net bridge is private, nothing external can touch it, and I control both ends. But if you want to go the extra step so that nobody — not even Cloudflare — can see your traffic in transit, here's how.
The Extra Step: Encrypt the Origin Leg
Get a Cloudflare Origin Certificate (SSL/TLS → Origin Server → Create Certificate) — a cert CF trusts but that isn't publicly issued. Mount it into your container, configure your app to serve HTTPS on 443, then update the tunnel Public Hostname entry from http://my-app to https://my-app:443. Finally set your SSL mode to Full (strict) in the dashboard.
This encrypts the cloudflared → container leg so traffic is never plaintext even inside the host. What it does not do is prevent Cloudflare from seeing your content — they still terminate TLS at the edge. If Cloudflare itself is in your threat model, a reverse proxy is the wrong tool regardless. For homelab and small prod workloads, that's not a realistic concern for most people.
Quick Start Checklist
- Add your domain to Cloudflare (if not already there).
- Go to Zero Trust → Networks → Tunnels → Create a tunnel.
- Copy the token shown during setup.
- Paste the token into the
command:in the Compose file above (replaceYOUR_TOKEN_HERE). - Run
docker compose up -d. - Add public hostnames in the Cloudflare dashboard pointing to your container names.
- Done. Your services are live — no open ports, no firewall hacks.
Running this on a homelab or a VPS? Drop a comment — always happy to compare notes.